
Introduction to Masking
The Concept of Masking
Alright, imagine you’re trying to color a picture but want to keep certain parts safe like covering them with a sticky note. That’s kind of what masking does in photo editing.
Masking in photo editing lets you hide or reveal specific parts of an image without deleting anything. It’s like having a magic eraser that you can undo anytime.
I remember the first time I stumbled across image masking service in Photoshop. I was trying to make my dog stand out from a messy background. Cutting him out perfectly with the eraser tool? Total disaster. Masking saved the day and my nerves.
Why Masking Matters
You know how frustrating it is to ruin an image with one wrong edit? Masking prevents that.
It’s a non-destructive way to make precise changes, whether you’re brightening just one area or removing a background. Plus, you can always tweak it later.
Masking gives you control. Like driving a car with power steering versus wrestling an old wagon.
Types of Masking Techniques
Layer Masking
Layer masking is your bread and butter.
It allows you to hide or show parts of a layer by painting with black, white, or gray. Black hides, white reveals, and gray makes things semi-transparent.
When I first used layer masks, I felt like a magician. I could “erase” part of a layer without losing it. It’s perfect for smoothing out skin or adjusting sky brightness—without touching the whole image.
Clipping Masks
Here’s a fun one: clipping masks.
A clipping mask lets one layer “clip” into the shape of the layer below. It’s like pouring paint into a stencil.
I use this a lot when designing social media posts. Want your photo to only show through the shape of some text? Clipping mask it!
Alpha Channel Masking
Sounds fancy, right? But it’s super handy.
Alpha channel masks are great for selecting complex areas—like hair or fur—using grayscale info. The lighter the area, the more visible it is.
This saved me when editing a photo of my friend’s dog mid-jump. That flying fur? Alpha masking handled it better than anything else.
Vector Masking
This one’s for the clean freaks.
Vector masks use shapes and paths instead of pixels, which makes them razor-sharp and scalable.
It’s perfect for logos or anything you might resize later. I used this for a client’s brand once and it looked crisp whether on a website or a billboard.
Gradient Masking
Want a smooth transition from one image to another?
Gradient masking blends areas using a gradual fade from black to white. It’s how you make dreamy double exposures or subtle vignettes.
I once blended a sunset into a portrait using this. It looked like she was glowing—without needing any extra effects.
Practical Applications of Masking
Selective Adjustments
Need to fix just the shadows under someone’s eyes?
Masking lets you apply edits to only part of the image—without affecting the whole thing.
It’s like saying, “Hey, brighten this area, but leave everything else alone.” Super useful for portraits or tricky lighting.
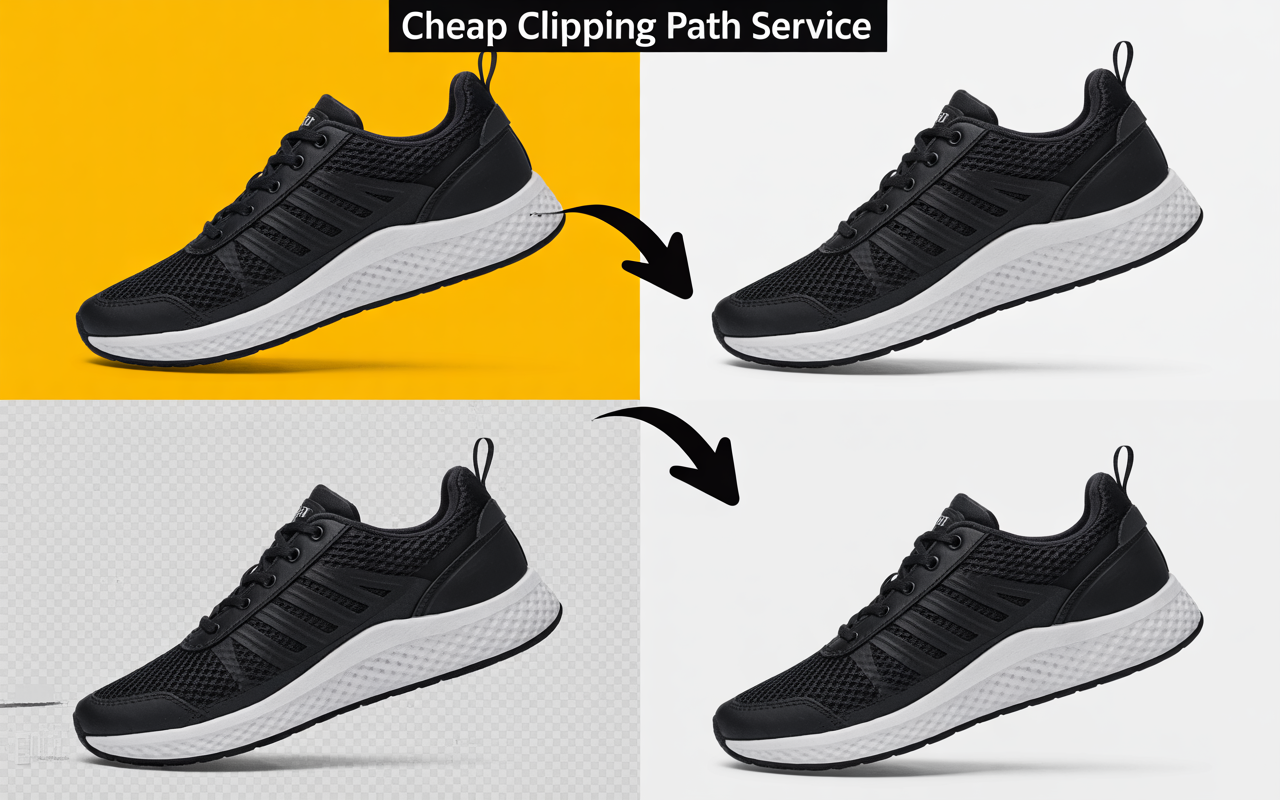
Background Removal
I won’t lie—this is my favorite use.
Masking is ideal for removing backgrounds, especially with fine details like hair or smoke.
It feels like peeling off a sticker to reveal a clean surface underneath. You can swap out dull skies or remove messy rooms in seconds.
Composite Image Creation
Ever seen a photo of someone standing on the moon? Probably a composite.
Masking lets you combine different images into one seamless scene.
Once, I created a fantasy landscape by blending a forest, a galaxy sky, and a silhouette. All with masks.
Edge Refinement
Sometimes your selection just isn’t perfect. Edges look choppy or fake.
Masking helps smooth and refine those edges, making everything look more natural.
A quick feather or brush tweak can turn a hard cut-out into a flawless blend.
Tools and Software for Masking
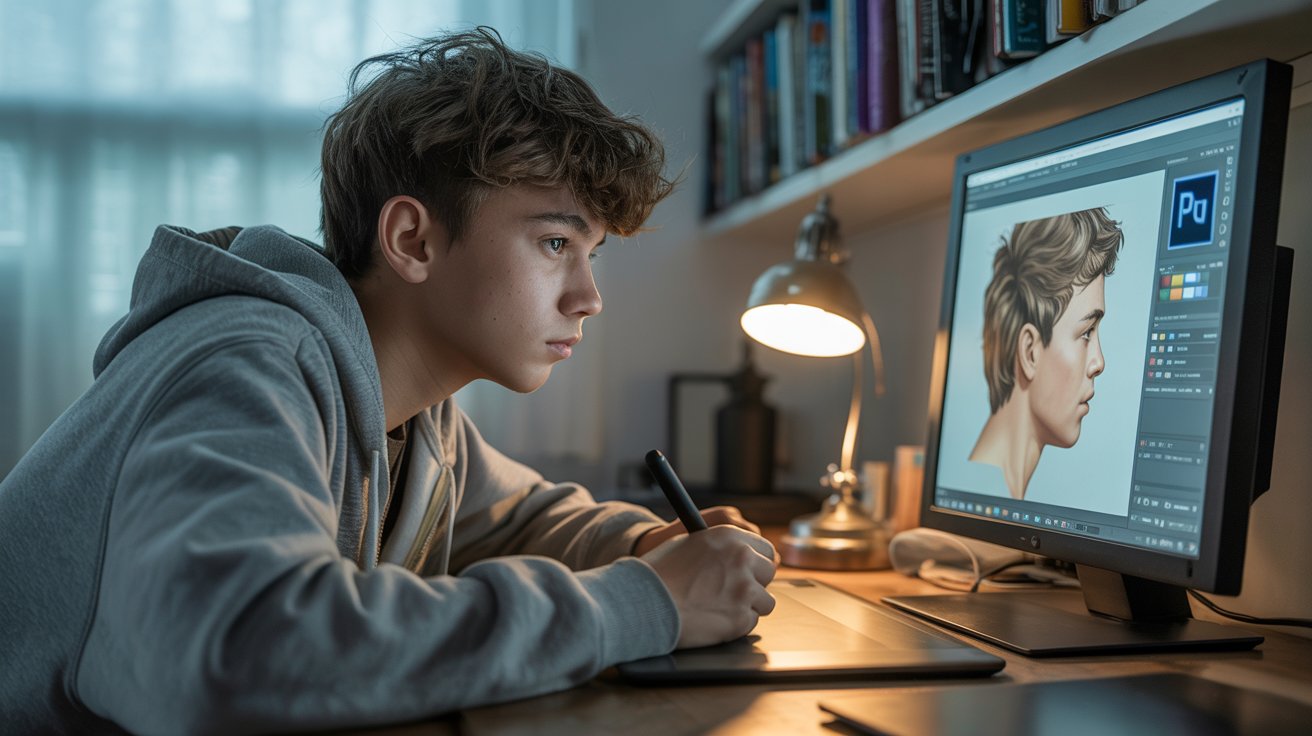
Adobe Photoshop
Photoshop is the king here.
It offers every kind of mask you can dream of—layer, vector, gradient, clipping, and alpha channel.
If you’re serious about editing, learning masking in Photoshop is like learning to drive with a stick shift. Worth it. Here’s a helpful guide: How to Use the Pen Tool in Photoshop.
Lightroom
Lightroom’s simpler but still powerful.
You can mask with tools like the brush, radial filter, or gradient tool to adjust specific areas of a photo.
It’s great for photographers who want speed and efficiency.
Affinity Photo
This one’s a hidden gem.
Affinity Photo gives you pro-level masking tools with a one-time price.
I used it on a budget once, and honestly? It did everything I needed for masking and then some.
Luminar Neo
Want AI to do the hard work?
Luminar Neo has smart masking tools that use artificial intelligence to auto-select skies, people, and objects.
Sometimes I feel like I’m cheating—but hey, if it works, it works!
Advanced Masking Techniques
Intersecting Masks
Ever want to mix two masks? You can!
Intersecting masks combine areas from multiple masks for precise control.
It’s like using both a magnifying glass and tweezers. Super specific edits, made simple.
Using AI for Masking
Tech is catching up fast.
AI-powered masking tools can detect and isolate subjects, backgrounds, or skies automatically.
I used an AI mask on a group photo, and it picked out each person perfectly. No manual selecting needed. Total time-saver.
Common Mistakes and How to Avoid Them
Over-Masking
Less is more.
If you mask too aggressively, your edits might look fake or flat. Always zoom out and check your work.
Been there—once masked a model’s hair so much, she looked like she was wearing a helmet!
Ignoring Feathering
Feathering is your best friend.
It softens the edge of your mask to make transitions smooth.
Without it, you get those weird harsh lines. Like when you cut paper with dull scissors.
Conclusion
Masking in photo editing is like having a magic brush that lets you fix, blend, hide, or reveal—without ever damaging the original picture.
It gives you the power to make subtle adjustments or dramatic changes, all while keeping control. Whether you’re removing backgrounds, fixing lighting, or creating artistic edits, masking is the secret sauce behind great images.
Once you get the hang of it, you’ll wonder how you ever edited without it.
FAQs
Q1: What’s the easiest masking method for beginners?
Layer masking. It’s simple, forgiving, and super flexible.
Q2: Is masking available in free photo editors?
Yes! Tools like GIMP and Photopea offer masking features too.
Q3: Can I use masking on mobile apps?
Absolutely. Apps like Snapseed and Lightroom Mobile support basic masking.
Q4: Does masking affect the original image?
Nope. It’s non-destructive, meaning you can undo or adjust it anytime.
Q5: How can I practice masking?
Start with portraits. Try lightening faces or changing backgrounds to get a feel for it.