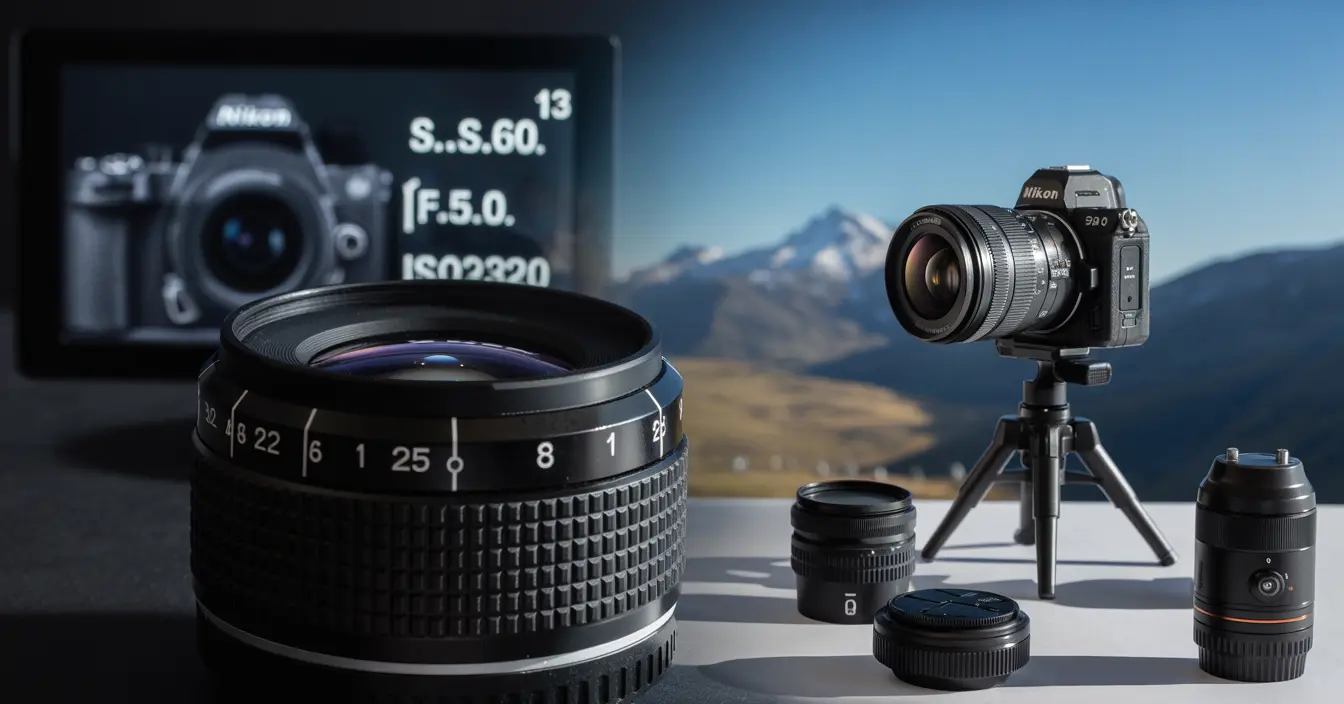

Why Paths Matter in Photoshop
Ever tried cutting out a subject in Photoshop with jagged edges? Yeah, me too. It’s frustrating when you zoom in and it looks like it was done with safety scissors. That’s when I learned about paths. And let me tell you paths are game-changers. They help you make clean, precise selections and give your edits a polished, pro look.
The Basics: What Exactly is a Path?
A path is a line either straight or curved—that doesn’t have color or width. It’s like an invisible wire that outlines what you want. In Photoshop, it’s not made of pixels, but vectors. That means it stays sharp no matter how much you zoom in.
Understanding Vector vs. Raster
Raster images are made of pixels. Zoom in too far, and you get that blurry blocky mess. Vectors, on the other hand, are math-based. They stay crisp forever. Paths are vector-based, which makes them perfect for clean cutouts and scalable shapes.
Why Designers Use Paths
Designers love paths because they’re flexible. You can reshape them anytime without ruining your image. They’re like outlines made of clay—bendable, editable, and reusable.
Types of Paths in Photoshop
There’s more than one kind of path, and knowing the difference helps.
Work Paths
These are temporary paths. If you don’t save them, they vanish when you make a new one. Think of them like drafts.
Saved Paths
Once you’re happy with a path, you can save it. This way, it’s stored in the Paths panel and won’t disappear.
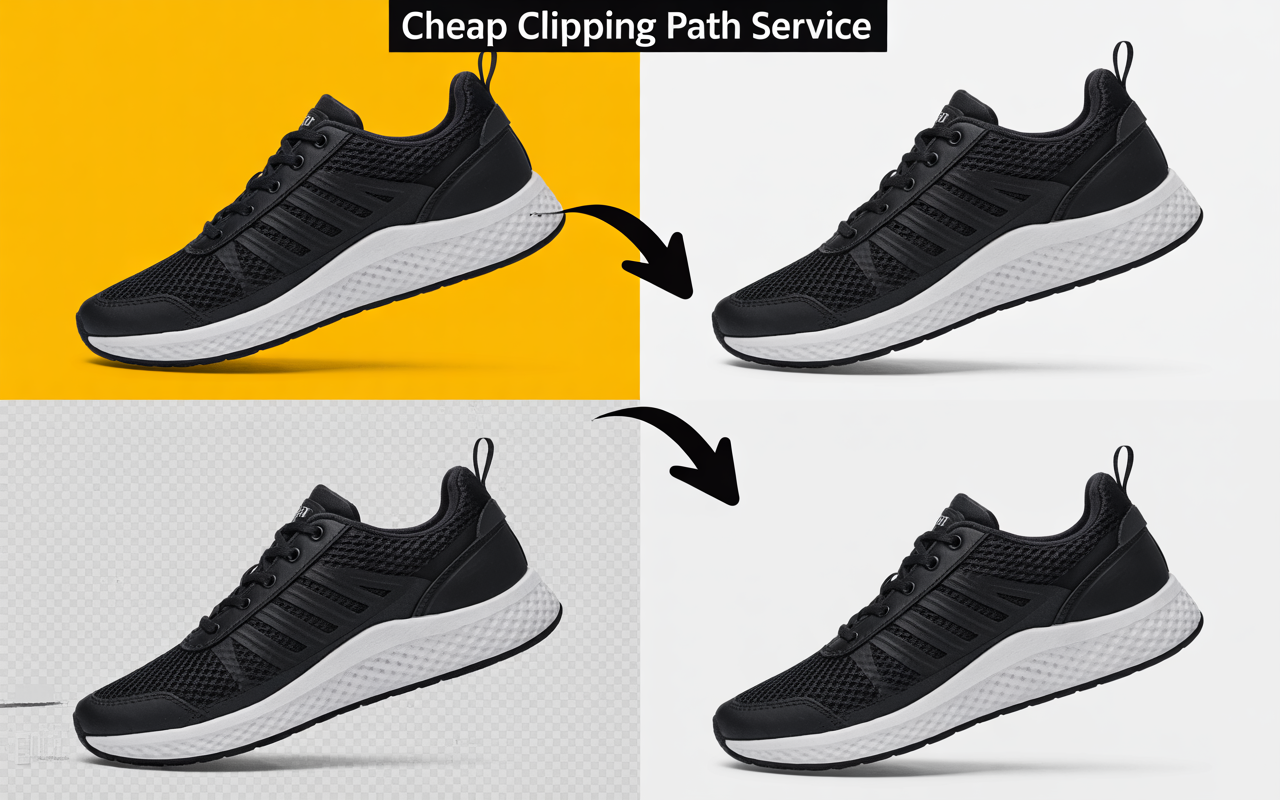
Clipping Paths
These are mainly for print or e-commerce. A clipping path tells Photoshop, “Only show what’s inside this outline.” It’s used a lot for background removal in product images.
How to Create a Path in Photoshop
Creating paths might feel tricky at first, but once you get the hang of it, it’s oddly satisfying.
Using the Pen Tool
Ah, the mighty Pen Tool. It’s the most precise way to make paths. Click for straight lines, click-and-drag for curves.
Straight Lines and Curves
Want a straight edge? Just click from point A to B. Curves? Click and drag to create those nice bends. It’s like drawing with an invisible pencil.
Adding Anchor Points
Anchor points are like push pins that hold your path in place. More anchor points mean more control.
Using Shape Tools as Paths
You can also use shape tools (like rectangles or ellipses) and set them to “Path” mode in the top toolbar. It’s quick and easy for basic shapes.
Paths vs. Selections: What’s the Difference?
A selection is like highlighting text it’s pixel-based and temporary. A path, on the other hand, is more like an outline you can keep editing. You can convert a path into a selection anytime, but not always the other way around.
Editing Paths Like a Pro
Don’t worry if you didn’t get it perfect the first time. You can always tweak it.
Moving Anchor Points
Use the Direct Selection Tool (white arrow) to grab individual anchor points and nudge them around.
Using the Direct Selection Tool
This tool lets you adjust curves by dragging their handles. It’s great for smoothing things out.
Common Uses of Paths
Paths aren’t just for cutouts. They’re like Swiss Army knives in your editing toolkit.
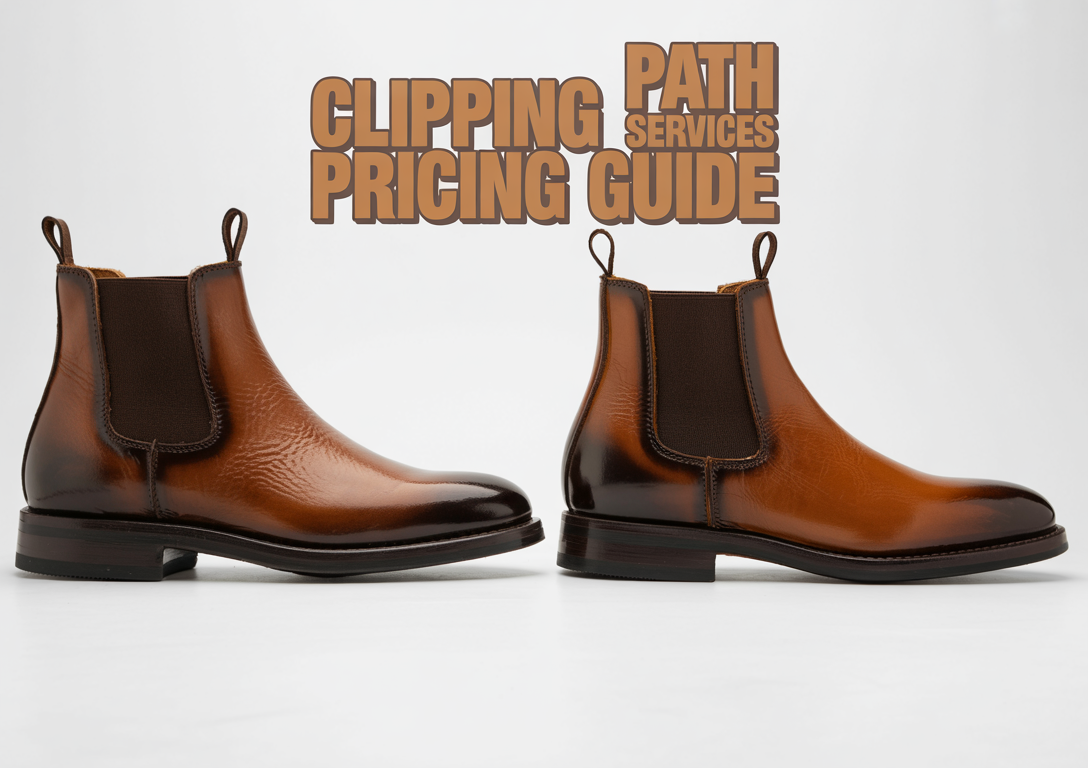
Creating Clipping Paths for E-commerce
Selling stuff online? A clean white background makes your product pop. Clipping path services help isolate your product without those messy edges.
Vector Masks and Clean Cutouts
Want a non-destructive way to hide part of an image? Image masking uses paths to do just that with perfect precision.
Converting Paths to Selections
Once your path looks good, right-click it and choose “Make Selection.” Boom. Now you can edit just that part of your image.
Path Panel: Your Best Friend
The Paths panel is where all your paths live. You can rename them, load them as selections, or delete the ones you’re done with. It’s like your path HQ.
Pro Tips for Working with Paths
Here are a few tricks I’ve picked up along the way:
Zooming In for Precision
Use Ctrl + to zoom in close. The closer you get, the more accurate your path will be.
Naming and Saving Paths
Give each path a clear name like “Left Shoe” or “Logo Curve.” You’ll thank yourself later when working on big projects.
My Personal Experience with Paths
I used to dread cutting out images. My selections looked choppy and took forever. Then I discovered professional clipping path services, and it changed everything. Now I can cut out a product cleanly in under five minutes. It’s saved me hours and made my work look way more professional.
Final Thoughts
Paths in Photoshop might seem technical at first, but they’re worth learning. Once you get comfortable, they become second nature. Whether you’re retouching jewelry photos or prepping e-commerce images, paths give you the control and polish your work deserves.
FAQs
What’s the difference between a path and a layer mask?
A path is a vector outline, while a layer mask hides or shows parts of a layer based on grayscale. You can use a path to create a layer mask.
Can I use paths for logos or icons?
Absolutely! Since paths are vector-based, they’re perfect for scalable graphics like logos.
How do I convert a selection into a path?
Go to the Paths panel and click the “Make Work Path” button. It turns your selection into an editable path.
Do paths work in all versions of Photoshop?
Yes, paths have been a core part of Photoshop for many years and are available in all modern versions.
What if my path disappears?
If it was a work path and you didn’t save it, it’s gone. Always save your paths if you want to keep them.