Why Great Jewelry Photos Matter
Let’s be real when you’re scrolling through an online store, what stops you? Yep, the photos. Jewelry is all about sparkle, shine, and detail. If your images don’t show that, your pieces get lost in the crowd. Think of your product photos as your jewelry’s first handshake it needs to wow.
First Impressions Count
In the online world, your image is your storefront. High-quality photos help you stand out in a sea of sellers. They build trust too. If something looks cheap or blurry, buyers may assume the product is low quality even if it isn’t.
Shoppers Buy With Their Eyes
Before someone buys, they zoom, click, and inspect. Your photos must showcase the craftsmanship, color, and sparkle. A crisp, well-lit image can be the difference between someone clicking “Buy” or bouncing to a competitor.

What You’ll Need to Get Started
Don’t worry you don’t need a fancy studio. You just need the right tools and a dash of patience.
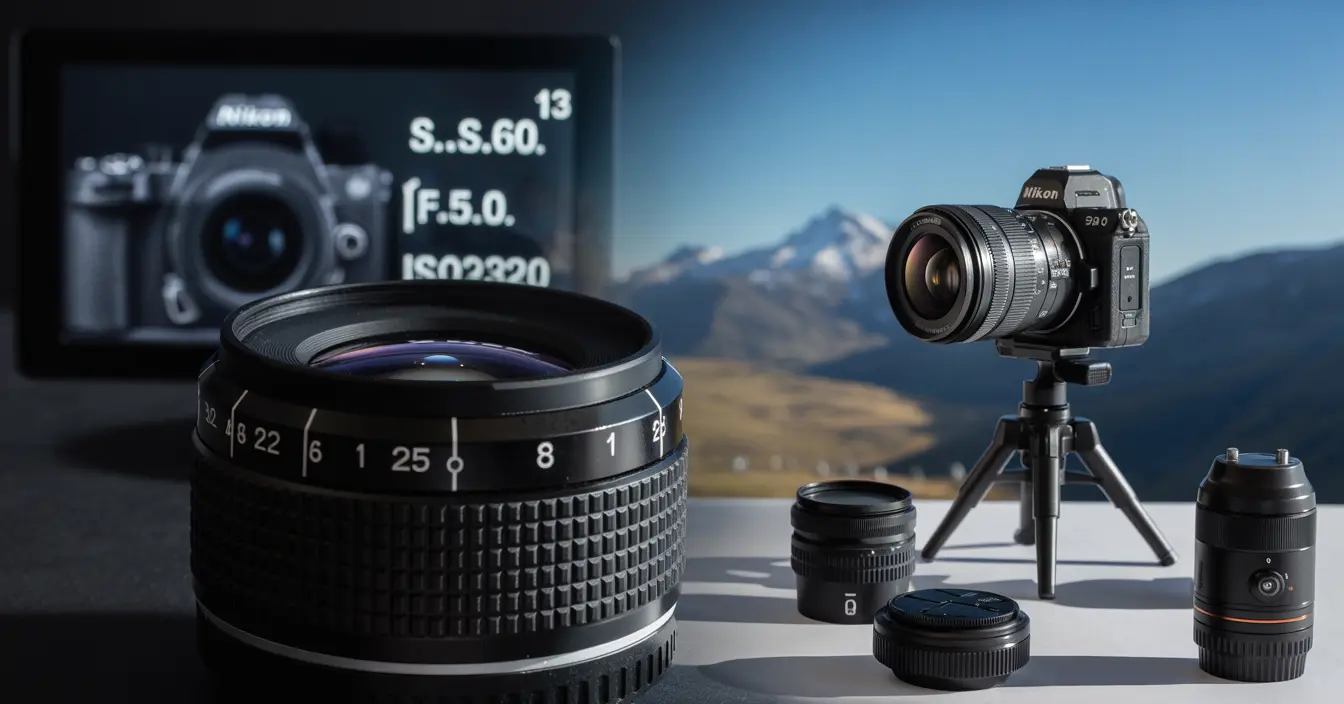
Camera or Smartphone Which is Best?
Honestly? Use what you’ve got. Modern smartphones like iPhones or Samsungs shoot beautifully. But if you’ve got a DSLR, even better. Either way, the goal is sharp, detailed photos. Use your phone’s manual or pro mode if it has one.
We have a service related to this, you can see it, we are of course giving a free trail.
Lighting – Your Jewelry’s Best Friend
Lighting can make or break your shot. Natural daylight (like near a window) is soft and flattering. But if you shoot often, invest in softbox lights or LED panels. Avoid direct overhead light—it creates harsh shadows.
Tripod – Keep It Steady
Shaky hands? We’ve all been there. A tripod keeps your camera still, so every detail stays sharp. It also helps when you’re using slower shutter speeds in low light.
Backgrounds Clean and Simple Wins
Plain white, grey, or black backgrounds work best. They don’t steal attention from the jewelry. I’ve tried fancy fabric and flowers, but honestly, they distracted more than they helped. Less is more.
Setting Up Your Jewelry Shoot
Let’s talk setup. This part’s fun but important. Here’s what works for me.
Clean Your Jewelry First
Nothing ruins a great shot like fingerprints. Use a microfiber cloth to wipe down every piece. Dust and smudges show up like neon signs in close-ups.
Choose the Right Time of Day
If you’re using natural light, shoot in the morning or late afternoon. Midday sun can be too harsh. I once shot at noon and ended up with shadows that looked like spider legs lesson learned!
Natural vs. Artificial Light
Natural light is softer and warmer. But it’s not always consistent. That’s where artificial lights save the day. I use two soft boxes one on each side to avoid harsh shadows.
Use a Light box for Consistency
A light box diffuses light and creates an even glow. You can buy one online or DIY it with a cardboard box and white tissue paper. Trust me—it’s a game-changer for small shiny items.
Shooting Techniques That Work
Let’s get to the fun part shooting the jewelry.
Focus on the Details
Zoom in on the clasp, the stone setting, the texture. Detail shots add trust. People want to see what they’re paying for.
Play With Angles
Don’t just shoot head-on. Tilt the ring slightly. Try from above or from a low angle. A simple twist can catch the light in magical ways.
Use a Macro Lens or Zoom Feature
For super sharp close-ups, macro mode is your best friend. If using a phone, tap to focus on the key detail and adjust exposure manually.
Don’t Forget Reflections and Shadows
Jewelry is reflective. Use white cards around your setup to bounce light and control shadows. It helps highlight texture and sparkle.
Post-Processing Basics
Even great shots can use a little polish.
Why Editing Matters
Editing enhances clarity and color. It helps you correct small lighting issues and ensures your photos look consistent across the board.
Simple Tools You Can Use
Tools like Adobe Lightroom, Snapseed, or Canva can help you tweak brightness, contrast, and sharpness. You don’t need to be a pro editor—just learn the basics.
Keep Colors True to Life
Avoid filters that change color. What people see should match what they receive. That builds trust and avoids returns.
Common Mistakes to Avoid
I’ve made most of these, so learn from my mess-ups.
Over editing or Filters
Too much saturation or blur can make jewelry look fake. Keep it real. Natural shine is more trustworthy than artificial sparkle.
Busy Backgrounds
Loud patterns or props pull the eye away. Keep the background plain. You want the jewelry to do the talking.
Dirty or Smudged Jewelry
A tiny smudge becomes massive in close-ups. Always clean before you shoot. A lint roller and soft cloth go a long way.
Tips for Consistency Across Your Listings
Consistency builds a brand. When all your photos have the same vibe, shoppers recognize you.
Use the Same Lighting Setup
Stick to one lighting style. If you start with soft natural light, use that every time. It keeps things cohesive.
Stick With One Background Style
White is timeless. It works on Amazon, Etsy, and Shopify. Plus, it’s easy to edit if needed.
Create a Template for Faster Shooting
I keep a checklist: clean jewelry, set up lightbox, mount camera, wipe lens. Saves time and avoids silly mistakes.
Real Talk: Lessons From My Jewelry Shoots
The Time I Forgot to Clean a Necklace…
One of my best necklaces had a perfect design, but I didn’t notice a smudge. After posting the photo, a buyer pointed it out. I felt awful. Since then, I double-clean every piece.
Why I Ditched Fancy Props
I once used seashells and fabric to “elevate” my earrings. Big mistake. Buyers thought the shells were part of the product! Clean, simple photos sell better trust me.
Final Thoughts
Jewelry photography takes patience and practice, but it’s worth every second. Once you find your rhythm, it becomes second nature. Start simple, focus on lighting and detail, and you’ll see your photos and sales shine.
FAQs
Q1: What’s the best lighting for jewelry photos?
A: Soft natural light or diffused LED lights work best. Avoid harsh direct light.
Q2: Do I need a DSLR or can I use my phone?
A: A smartphone with a good camera is fine, especially if you use manual mode.
Q3: How do I avoid blurry shots?
A: Use a tripod and make sure your focus is locked in. Tap to focus on your phone.
Q4: Can I use natural light for every shoot?
A: Yes, but only when it’s consistent. Cloudy days are better than harsh sunlight.
Q5: How much editing is too much?
A: If the product looks different from real life, you’ve gone too far. Aim for clean and realistic.