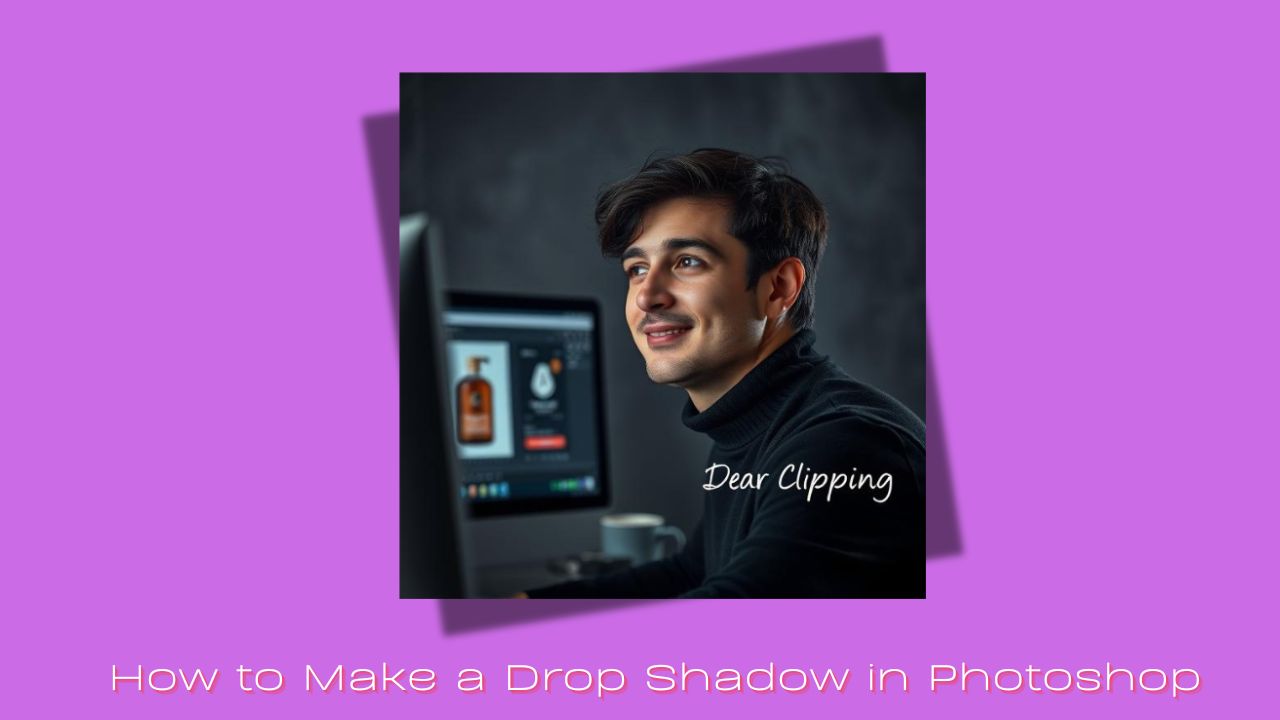

What Is a Drop Shadow (and Why Should You Care)?
A drop shadow is a digital shadow you tuck behind an object like text or a shape to make it pop off the page. Think of it like giving your design a little 3D energy without needing 3D software.
Drop shadow is one of the most powerful yet simple effects in image editing.
Short Answer: A drop shadow makes things look like they’re hovering slightly above the background, giving depth and dimension.
Whether you’re designing a social post, a logo, or just jazzing up a photo, this tiny effect can totally change the vibe. It’s subtle but powerful like good lighting in a selfie.
When I First Discovered Drop Shadows…
I still remember the first time I stumbled upon the drop shadow option. I was designing a flyer for my cousin’s bakery (shoutout to Emma’s Sugar Shack ), and everything looked… flat. I clicked around aimlessly, and then boom—there it was: “Drop Shadow.”
Short Answer: Drop shadows add dimension and polish to even the simplest designs.
I added it to the cupcake icon, and just like that, it looked like it was floating off the page. My cousin gasped (yes, actually), and I’ve been hooked ever since.
Getting Started: Open Photoshop Like a Pro
Before you dive in, make sure you’ve got your image or project open in Photoshop.
Short Answer: Open your file in Photoshop and select the layer you want to shadow.
Click File > Open, pick your image, and boom you’re in. Find the Layers panel (usually bottom-right). If it’s not showing, press F7.
Then, click the layer you want to work with. It could be a logo, text, shape—anything that deserves a spotlight.
Let’s Add a Basic Drop Shadow (In Seconds)
Using the “Layer Style” Trick
This is the fastest way to shadow anything.
Short Answer: Right-click the layer > “Blending Options” > Check “Drop Shadow.”
Yep, that’s it. Just right-click on your layer and choose “Blending Options.” A new window pops up. Look to the left see that “Drop Shadow” checkbox? Click it.
Learn how to professionally edit your images with our photo retouching services for more depth and polish.
Boom. You’ve officially joined the shadow game.
The Magic Settings (That Make All the Difference)
Now comes the fun part tweaking.
Short Answer: Tweak angle, distance, size, and opacity for the perfect shadow.
Here’s how I usually roll:
- Angle: I keep it around 120° for a soft, top-right light.
- Distance: This pushes the shadow away. Try 10–20px.
- Spread: Adds thickness. I usually keep this low.
- Size: This softens the shadow. Bigger size = softer look.
- Opacity: Want subtle? Go 30–50%. Want bold? Crank it up.
Play with it. You’ll know when it feels right—it’s like seasoning food.
Want to Take It Up a Notch? Try This Advanced Shadow Trick
Sometimes, the built-in drop shadow doesn’t cut it. If you want more control—like bending the shadow or blurring it to your taste create it manually.
My Favorite Move: Making a Separate Shadow Layer
Short Answer: Duplicate your layer, fill it with black, distort it, then blur it.
Here’s what I do:
- Duplicate the object (Ctrl + J or Cmd + J).
- Move the duplicate layer under the original.
- Fill it with black (Edit > Fill > Black).
- Go to Edit > Transform > Distort and tweak it stretch it, tilt it, go wild.
- Lower the opacity to make it feel real.
Suddenly, your object isn’t just hovering it’s casting a shadow like it lives in your photo.
For more in-depth Photoshop tricks, check out our guide on how to create a clipping path in Photoshop.
Why Gaussian Blur Is the Secret Sauce
Shadows aren’t crisp lines in real life they’re soft and dreamy.
Short Answer: Add Gaussian Blur to soften your shadow.
Go to Filter > Blur > Gaussian Blur. I usually set the radius between 5 and 20 pixels, depending on the size of the object.
This one step makes it look like your shadow actually belongs. No harsh lines, just smooth vibes.
Real Talk: What Makes a Drop Shadow Look Real?
Watch Your Light Source
Short Answer: Match your shadow’s angle to your photo’s light.
This is the difference between “meh” and “wow.” If your photo’s light comes from the left, don’t set your shadow angle to the right. Trust me, people might not know why it looks off—but they’ll feel it.
Shadows Need to Match the Mood
Short Answer: Darker scenes need deeper, blurrier shadows.
In bright, sunny pics? Go lighter and sharper. In moody, dim lighting? Blur it out and drop the opacity. It’s like matching shoes to an outfit—it has to fit the tone.
Common Mistakes I’ve Made (So You Don’t Have To)
Short Answer: Avoid overdoing it, and keep it consistent.
I used to go wild with shadows on everything. But too many shadows = cluttered design. Also, don’t change your shadow angles across layers unless you want chaos.
Want clean, consistent edits? Work with a professional clipping path service company to perfect your image presentation.
Consistency makes your design feel thoughtful, even if it’s super simple.
Quick Tips That’ll Make You Look Like a Photoshop Genius
- Use shadows to guide the eye to key info.
- On text? Keep shadows subtle—it helps with readability.
- Use shadows to lift buttons off busy backgrounds.
Short Answer: Subtle shadows = cleaner, more pro-looking designs.
Need edits for product photos? Our eCommerce photo retouching services are tailored for online stores and marketplaces.
It’s all about balance. Not too much. Not too little. Just like seasoning.
Wrapping It All Up (With a Shadowy Bow)
Look, shadows might seem like a small thing. But trust me—they can totally change how your work feels. Adding that bit of depth can take something from “pretty good” to “wow, did you make that?!”
Short Answer: Drop shadows are easy, powerful, and totally worth learning.
Play around with it. Try the quick style. Try the advanced one. Mix them. Break the rules (once you know them). Before you know it, you’ll be the one showing others how it’s done.
FAQs
Q1: Can I use drop shadows on text in Photoshop?
Absolutely! Select your text layer, go to Blending Options, and check “Drop Shadow.” Super useful for making text pop on busy backgrounds.
Q2: How do I make my drop shadow more realistic?
Match the angle to your light source, lower the opacity, and use Gaussian Blur. The more natural the light looks, the better the shadow feels.
Q3: Can I move a drop shadow after I add it?
Not the default one—but if you create a separate shadow layer (like we covered), you can move it anywhere.
Q4: How do I remove a drop shadow in Photoshop?
Go to the Layers panel, right-click the “Drop Shadow” effect under your layer, and choose “Clear Layer Style.” Done!
Q5: Is drop shadow the same as cast shadow?
Not quite. Drop shadow is a quick effect in Photoshop. Cast shadows are more complex and realistic great if you’re creating photorealistic scenes.