
Ever tried taking product photos at home and ended up with something that looked like a blurry crime scene? Yep, same here. I used to think good photos needed expensive gear or a professional studio. Turns out, all I really needed was a basic understanding of ISO, aperture, and shutter speed plus a little patience and coffee.
Let me walk you through how I figured it all out, in plain English. If you’re trying to shoot great product photos for your shop, Etsy, or side hustle, this guide is for you.
Quick Answer: What Makes a Product Photo Look Good?
Sharp focus, soft light, natural colors, and balanced exposure—that’s the magic combo. And that magic comes from learning to control three things: ISO (light sensitivity), aperture (how wide your lens opens), and shutter speed (how long your camera sees light).
Think of it like cooking ISO is the flame, aperture is the size of the pot, and shutter speed is how long you cook it. Get that mix right, and your images pop.
ISO: The “Volume Knob” for Light (Use It Wisely)
So, what’s ISO? In simple words, it tells your camera how sensitive to be to light. The lower the ISO (like 100), the cleaner and sharper the photo. The higher it goes (like 1600+), the more noise and grain show up.
When I first started, I used ISO 800 indoors and wondered why my soap bar looked like it had acne. Not cute.
Pro tip: Always start with ISO 100 or 200, especially if you’ve got decent lighting. Don’t crank it up unless you have to.
Best ISO for DIY product shots: ISO 100-200 for clean and sharp images.
Aperture: The Eye of Your Camera
Aperture is how wide your camera lens opens to let light in. It’s measured in f-stops like f/2.8, f/8, or f/11. Lower numbers (wide opening) blur the background, while higher numbers (narrow opening) keep everything in focus.
I once shot a skincare bottle at f/2.8. The cap was crystal clear, but the label? Total blur. Lesson learned.
Now I mostly use f/8 to f/11—that sweet spot keeps the whole product sharp and still lets in enough light.
Best aperture for product photography: f/8–f/11 for full focus and clarity.
Shutter Speed: Don’t Let the Wiggle Win
Shutter speed is how long your camera’s shutter stays open. The slower it is, the more light you get—but the more motion blur you risk. That’s why fast shutter speeds (like 1/100s or faster) are great for handheld shots.
But here’s the thing: when shooting products on a table, use a tripod. Then you can slow down your shutter (like 1/2s or even 1s) and still get tack-sharp images.
One time, I shot a pair of earrings with a slow shutter and no tripod. Looked like ghosts were wearing them. Since then, my tripod has become my best friend.
Best shutter speed with tripod: 1/4s to 1s. Handheld? Stick to 1/100s or faster.
The Exposure Triangle: Your Recipe for Perfect Light
Getting a great shot is like making the perfect smoothie. You’ve got three ingredients—ISO, aperture, and shutter speed. Change one, and you need to tweak the others.
Here’s how I balance it:
- Good lighting? ISO 100, aperture f/8, shutter 1/125s.
- Low light? Bump ISO to 400, aperture f/5.6, shutter 1/60s.
- Need sharp detail? Go f/11, keep ISO low, slow the shutter with a tripod.
Balance ISO, aperture, and shutter speed like a triangle: change one, adjust the others.
White Balance: Don’t Let Your Soap Look Blue
I ignored white balance for too long. My white T-shirts always looked yellow or blue. Not the vibe. White balance tells your camera what “white” should look like under your lighting.
Instead of auto mode (which is unreliable), I set the Kelvin temperature manually—usually around 5000K for daylight bulbs.
You can also use a gray card and set custom white balance. Sounds geeky, but it takes 2 minutes and saves hours of editing.
Set white balance manually using Kelvin mode or a gray card for true-to-life colors.
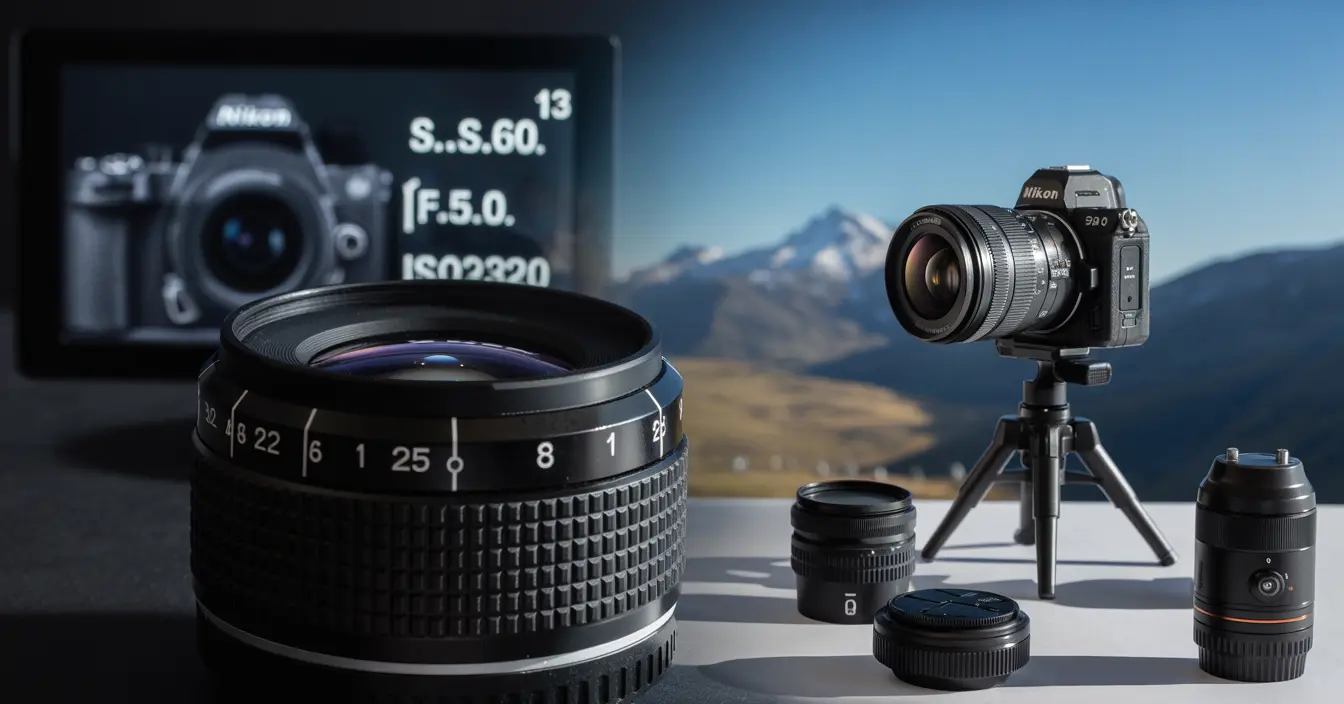
My DIY Lighting Setup (That Doesn’t Break the Bank)
Let me paint the picture. My “studio” is a corner of my kitchen, with two softbox lights, a white foam board, and a light tent I got on Amazon for $25.
Here’s how I arrange it:
- One main light at a 45° angle in front.
- A fill light on the other side to kill harsh shadows.
- A white bounce board in back to reflect light.
And that’s it. No fancy gear. Just smart lighting.
Use soft, diffused lighting from both sides for even exposure without harsh shadows.
Tools That Made My Life Easier
A few things really helped level up my product photos:
- Tripod: No shaky hands, ever.
- Remote trigger or self-timer: Avoids blur.
- Light tent: Gives a clean background with soft shadows.
- Gray card: Keeps colors consistent.
- Reflector: Fills in dark spots.
Simple tools like tripods, light tents, and gray cards make a big difference.
My Editing Workflow (RAW Files FTW)
I always shoot in RAW now. It gives me way more control when editing.
Here’s my simple editing flow in Lightroom:
- Fix white balance.
- Adjust brightness and contrast.
- Add sharpness and clarity.
- Clean up any dust spots.
- Crop and straighten.
That’s it. I don’t go overboard because I want the product to look real—not plastic.
Shoot in RAW and use editing tools like Lightroom for clean, natural results.
Rookie Mistakes I’ve Made (So You Don’t Have To)
Let’s just say I’ve made every mistake in the book. Here are a few I wish someone warned me about:
- Using auto mode: It never gets it right.
- Ignoring the background: A cluttered backdrop kills the vibe.
- Not checking focus: Zoom in to make sure the details are sharp.
- Wrong lighting color: Mixing daylight and tungsten? Don’t.
Now I double-check my setup before every shoot. Saves so much time.
Avoid auto mode, clutter, and mixed lighting—those are instant photo killers.
Final Thoughts: You’ve Got This
If you’re feeling overwhelmed, that’s normal. I felt the same when I started. But with a little practice and the right settings, DIY product photography becomes second nature.
You don’t need fancy gear. Just understand the basics of ISO, aperture, and shutter speed, and take it one step at a time. You’ll be amazed at how pro your shots start to look.
And hey—if I can make my homemade candles look like a million bucks, so can you.
Mastering your camera settings is the fastest way to level up your product photos—no studio required.
📸 Helpful resources (for even better photos):
✅ Need clipping path services? Check this out.
✅ Want to remove backgrounds? See this background removal service.
✅ Selling clothes? Try professional ghost mannequin services.
✅ Have jewelry? Get jewelry retouching services.
✅ Need finishing touches? Use photo retouching services.