
So… What’s a Clipping Mask, Anyway?
Let’s start with the big question: what the heck is a clipping mask in InDesign?
Simple answer? A clipping mask lets you “cut” an image into a shape—like using a cookie cutter on dough. You keep the part inside the shape, and everything else disappears like magic.
And here’s the cool part: you don’t actually cut anything. You’re just telling InDesign, “Hey, only show this part of the image through this shape.” It’s like putting a photo behind a window. This concept is closely related to techniques used in clipping path services where precision is key to professional image editing.
Why Would You Use One?
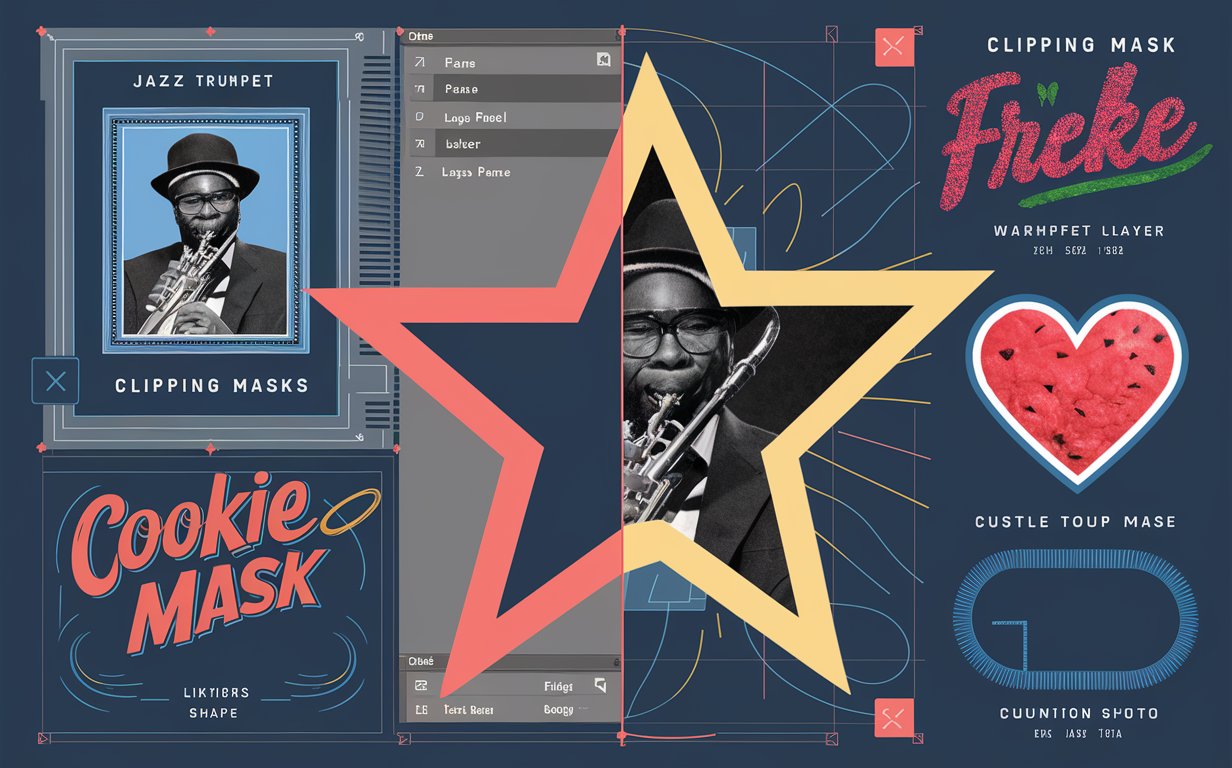
Let me tell you about the time I designed a flyer for a local jazz night. I wanted the trumpet player’s photo inside a star shape. It needed to feel bold but classy.
Instead of awkwardly cropping the image or fumbling around in Photoshop, I used a clipping mask right in InDesign. Five minutes later—boom. Star-shaped photo. Super clean. Client loved it.
Answer-first insight: Use clipping masks when you want your image to fit a creative shape without editing the original file—similar to what a clipping path service company does for product images.
Two Fastest Ways to Make a Clipping Mask in InDesign
1. Use a Frame Shape
This is the easiest way—and probably the one you’ll use most.
- Draw a shape using the Rectangle, Ellipse, or Polygon Frame Tool.
- Place your image inside it (File > Place or press Ctrl/Cmd + D).
- InDesign treats that shape like a window. Only what’s inside is visible.
Quick tip for snippets: You can create a clipping mask by placing an image into a frame—it acts like a shape-based window for your photo.
2. Use the ‘Paste Into’ Trick
Here’s another method I love when I’m getting creative.
- Draw any shape (you can even freehand it with the Pen Tool).
- Cut your image (Ctrl/Cmd + X).
- Select your shape, then hit Edit > Paste Into.
It’s like tucking your image inside a custom-made envelope—just like multiple clipping path service allows for complex selections within one file.
Want to Get Fancy? Try Custom Shapes
Sometimes rectangles and circles just don’t cut it—literally.
Let’s say you’re designing a magazine cover and want the photo to follow the flow of someone’s hair or a funky logo. Here’s what you do:
- Grab the Pen Tool (P) and draw the shape yourself.
- Then use the ‘Paste Into’ trick from earlier.
Pro-level insight: Use custom vector shapes with the Pen Tool for artistic and precise clipping masks in InDesign—skills mirrored in professional ghost mannequin service workflows for apparel product imagery.
Pulling from Photoshop? You Bet You Can
Got an image with a transparent background or a fancy path saved in Photoshop? Don’t redo the work.
Here’s the quick-and-dirty:
- Place the image in InDesign.
- Select it, then go to Object > Clipping Path > Options.
- Choose ‘Photoshop Path’ or ‘Alpha Channel.’
InDesign reads it like a pro and masks the image for you.
No Photoshop? Let InDesign Detect the Edges
This trick feels like wizardry.
Let’s say you have a high-contrast image—like black text on a white background. Do this:
- Select the image.
- Go to Object > Clipping Path > Options.
- Set Type to ‘Detect Edges.’
- Adjust the Threshold and Tolerance to fine-tune.
It’s like auto-cropping with a brain.
Quick win: Use InDesign’s ‘Detect Edges’ to auto-create clipping masks from high-contrast images—similar to photo retouching services that clean and enhance product photos.
Text Clipping Masks? Oh Yes, It’s Possible
One time, I needed to fill the word “FRESH” with a watermelon texture for a smoothie ad. Weird ask—but clipping masks saved the day.
Option A: Convert Text to Outlines
- Type your word.
- Select it and hit Type > Create Outlines.
- Now it’s a shape.
- Use the ‘Paste Into’ method to fill it with your image.
Heads-up: Once you outline text, you can’t edit it anymore. So do it last.
Option B: Keep Text Editable
Here’s a workaround if you want to keep your text live:
- Put the image on top of your text.
- Group them.
- Open the Effects panel and check ‘Knockout Group.’
Boom. It’s like your image shines through the text.
Snippable insight: To keep your text editable with a clipping mask, use the Knockout Group feature instead of converting it to outlines.
Tips to Stay Sane While Masking
Organize Your Layers
When you’re juggling masks, images, text, and shapes—it gets messy fast.
Use the Layers panel to name and group things. Trust me, your future self will thank you.
Speed Up Your Workflow
If InDesign starts dragging like a Monday morning:
- Set Display Performance to “Typical” or “Fast.”
- Use linked images, not embedded ones.
- Avoid overly complex shapes when possible.
Helpful hint: For better performance, use linked images and keep your display settings low while working—especially important for bulk tasks like ecommerce photo retouching services.
My Go-To Clipping Mask Workflow (That I Use All the Time)
- Sketch your layout on paper or mentally map it out.
- Draw the shape in InDesign (rectangle, star, whatever).
- Place the image or cut + paste into.
- Fine-tune the fit using the Direct Selection Tool.
- Sit back and smile because it looks awesome.
It’s fast, flexible, and way easier than bouncing between apps.
Final Thoughts: Clipping Masks = Design Freedom
Creating clipping masks in InDesign isn’t just a trick—it’s a creative superpower.
Whether you’re shaping an image into a heart for a wedding invite or wrapping text around a coffee mug photo for a catalog, clipping masks help your design feel intentional and polished—just like jewelry photo retouching services bring polish to visual product storytelling.
Once you get the hang of it, it’s like muscle memory. You’ll reach for it without thinking—just like I do now.
FAQs
#01. Can I undo a clipping mask in InDesign?
Yep. Just select the object, go to Object > Clipping Path > Options, and choose “None.” Your image will return to normal.
#02. Can I adjust the image after masking?
Totally. Use the white arrow (Direct Selection Tool) to move or resize the image inside the mask.
#03. Can I use one mask for multiple images?
Yes, but group the images first, then apply the mask. It’s like wrapping a bundle in one envelope.
#04. Can I animate clipping masks in InDesign?
Not really. InDesign isn’t built for motion. For that, Adobe After Effects is your playground.
#05. Can I save my clipping mask layout for reuse?
Absolutely. Save it as a snippet or add it to your InDesign library for easy reuse in future projects.