
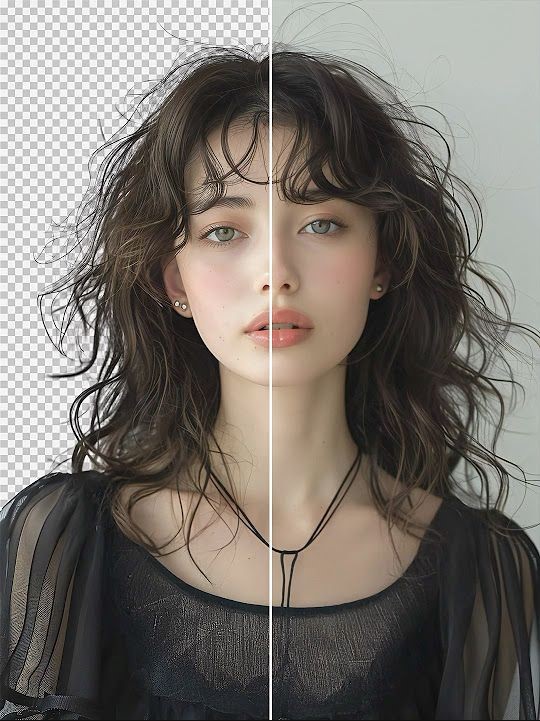
What Is a Clipping Path?
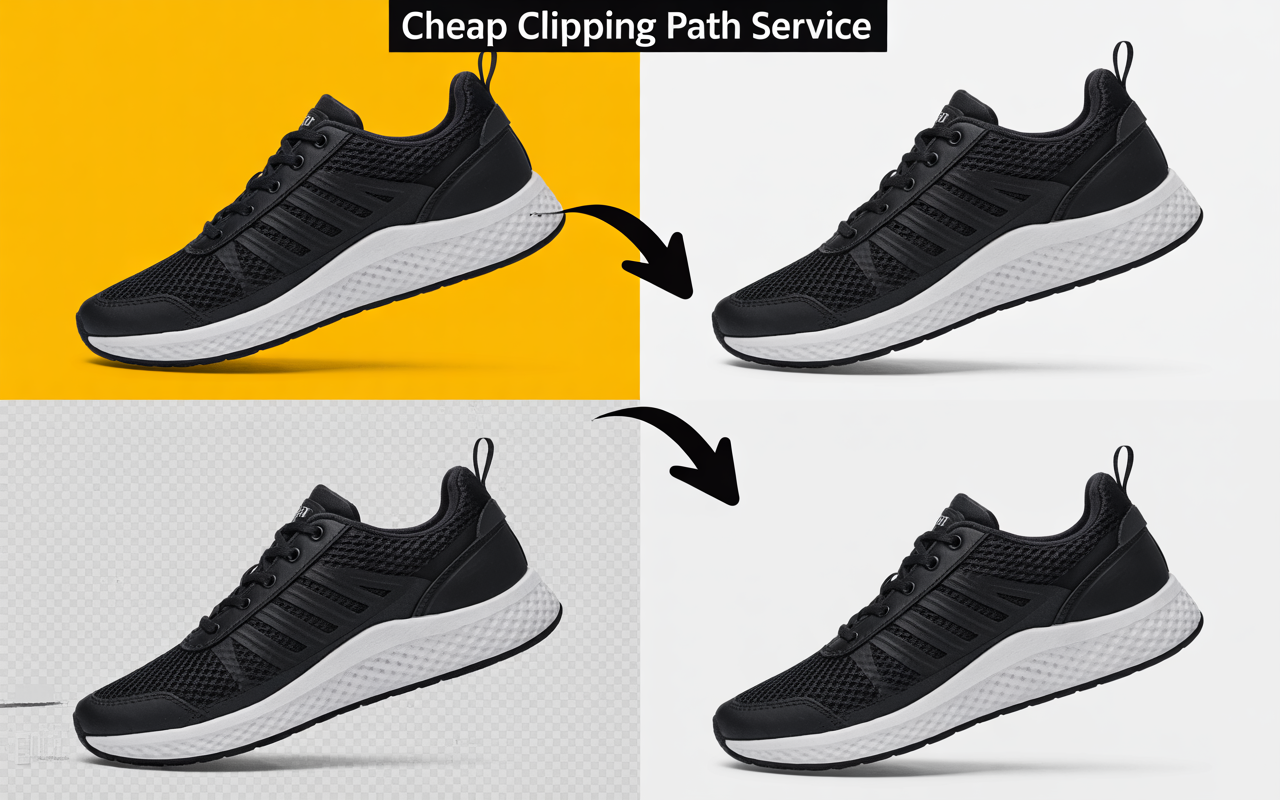
A clipping path is basically Photoshop’s way of saying, “Only show me this part.” Think of it like cutting a picture with scissors. Whatever’s inside your outline stays; everything else disappears.
Short answer: A clipping path is a drawn outline that isolates part of an image.
Why Use a Clipping Path?
Whether you’re editing product photos for an online store or making a cool Instagram post, clipping paths give your work that crisp, clean look. It’s like turning your photos from amateur to pro in minutes.
Short answer: Use clipping paths for clean cutouts, especially in product photography.
Real-life Example: My First DIY Product Photo
I once tried to take pictures of handmade earrings for Etsy. Natural light, white paper background, my phone… the works. The photos? Meh. But after using a clipping path in Photoshop? Chef’s kiss.
(Optional bonus link based on context) If you’re working with accessories, especially precious items, jewelry retouching can make a big difference.
Tools You’ll Need
Photoshop (of course), a mouse or tablet, and some patience. Oh, and good lighting on your original image never hurts.
Short answer: You just need Photoshop and a steady hand.
Why the Pen Tool Is King
The Pen Tool is the MVP here. It’s precise, flexible, and doesn’t pixelate edges like the lasso or magic wand tools sometimes do.
Short answer: The Pen Tool offers the cleanest and most precise paths.
What Other Tools Can Help?
The Direct Selection Tool helps adjust anchor points. Zoom is your best friend. And if you mess up? Ctrl + Z. No shame in that game.
Setting Up Your Workspace
Open Photoshop, load your image, and clear distractions. I usually play chill music and get comfy.
Short answer: Open your image and get into focus mode.
Opening Your Image
Click File > Open, pick your photo, and you’re in. Simple.
Short answer: Go to File > Open to start editing.
Zooming In (Seriously, Zoom In!)
Work at 300% zoom. It’s like looking through a magnifying glass. You’ll trace more accurately and avoid weird edges.
Short answer: Zoom in for better precision.
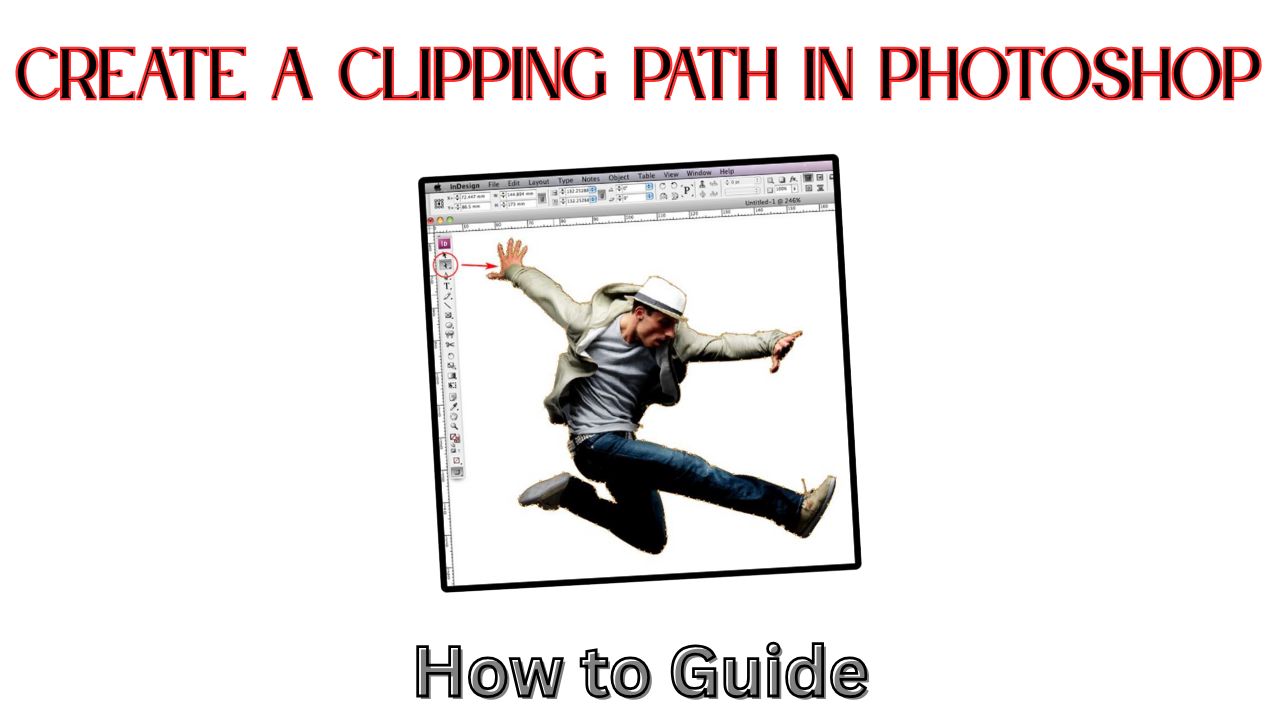
Creating Your First Clipping Path
Using the Pen Tool Step-by-Step
Select the Pen Tool (P). In the top menu, make sure it’s set to “Path,” not “Shape.”
Short answer: Choose the Pen Tool and set it to Path mode.
Adding Anchor Points
Click to place points along the edge of the object. Straight lines = clicks. Curves = click and drag.
Short answer: Click to add points; drag for curves.
Navigating Curves and Corners
Corners? Click once. Curves? Click and drag gently. You’ll get a feel for it.
Short answer: Drag points for smooth curves; click sharply for corners.
Closing the Path Cleanly
Finish by clicking the starting point. When the cursor shows a little circle, that’s your cue.
Short answer: Click the starting point again to close the path.
Turning the Path into a Selection
Make Selection and Feather Settings
Go to the Paths panel. Right-click > Make Selection. Feather: 0 or 0.5 if you want a softer edge.
Short answer: Right-click your path, choose Make Selection, and set feather radius.
Saving Your Work Correctly
Why Naming Your Path Matters
Photoshop names it “Work Path” by default. Rename it to avoid losing your work. I’ve lost too many perfect cutouts that way.
Short answer: Double-click the path name to save it properly.
Best File Types to Use
Save as PSD or TIFF to keep the path. EPS is great for printing.
Short answer: Use PSD, TIFF, or EPS to preserve the path.
When the Pen Tool Isn’t Enough
The Magic of Select and Mask
For hair or fabric, Select and Mask is a lifesaver. It lets you refine edges that the Pen Tool can’t.
Short answer: Use Select and Mask for soft or complex edges.
Tips for Hair, Fur, and Fuzzy Edges
Use the Refine Edge Brush inside Select and Mask. Paint over the fuzzy bits. Photoshop does the rest.
Short answer: Paint over fuzzy edges with the Refine Edge Brush.
Creative Uses of Clipping Paths
Layer Masks and Composites
Use clipping paths with layer masks to mix images together. I’ve made surreal portraits this way—like cutting and pasting with digital scissors.
Short answer: Combine paths with masks for creative designs.
Final Thoughts: Why This Skill Matters
Once you master clipping paths, your Photoshop game levels up. You’ll clean up product shots, make cool composites, and feel like a design wizard. It’s a little tricky at first, but once it clicks? You’ll wonder how you ever edited without it.
FAQs
Q1: What’s the fastest way to create a clipping path?
Use the Pen Tool for precise tracing. Right-click to convert it to a selection.
Q2: Can I use the Lasso Tool instead?
You can, but it’s less accurate. Pen Tool gives smoother edges.
Q3: What’s the best file type for saving paths?
PSD and TIFF for editing, EPS for printing.
Q4: Is a clipping path better than a mask?
They’re different. Paths are cleaner for hard edges; masks are flexible for soft areas.
Q5: How do I fix a mistake in my path?
Use the Direct Selection Tool to move anchor points, or undo with Ctrl + Z.