Ever tried erasing part of an image and then realized—oops—you needed that bit back? Yeah, been there. That’s where masks in Photoshop come in like magic. Instead of deleting anything, masks let you hide or show parts of a layer non-destructively. Think of them like digital sticky notes you can reveal and hide without tossing anything out.
What Is a Mask in Photoshop?
A mask in Photoshop is like an invisible shield you put over a layer. It lets you control which parts of the layer are visible and which are hidden. All without actually deleting anything. The best part? You can go back anytime and change your mind.
Why Masks Matter: Real Talk
When I first started editing, I’d just use the eraser. Big mistake. Once it’s gone, it’s gone unless you undo a dozen times. Masks saved me. They gave me control and peace of mind. I could experiment more and worry less about messing things up.
Types of Masks in Photoshop
Photoshop gives us a few different masks, each with its own superpower.
1. Layer Mask
This one’s the go-to. It lets you paint black to hide and white to show. Perfect for fine-tuning edits.
2. Vector Mask
These use paths instead of pixels. They’re great for sharp, clean edges, like logos or icons.
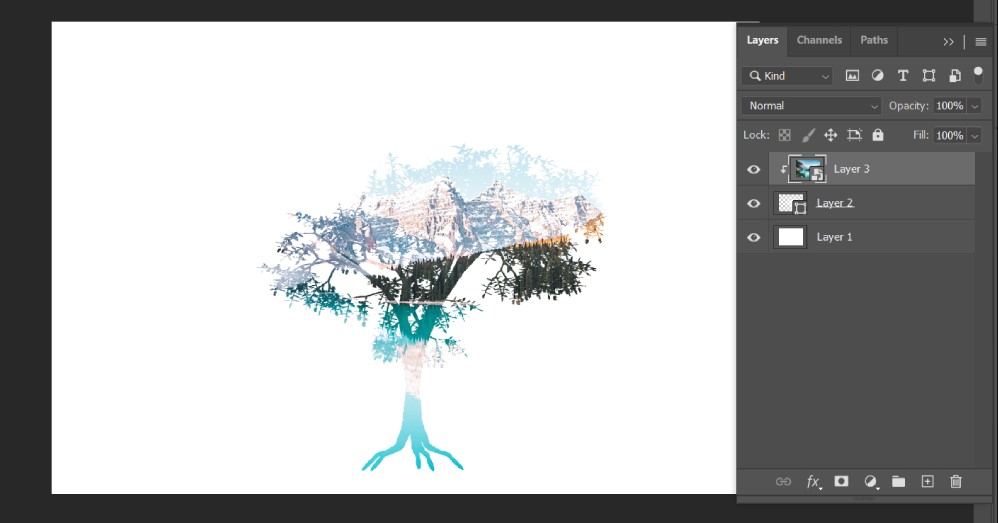
3. Clipping Mask
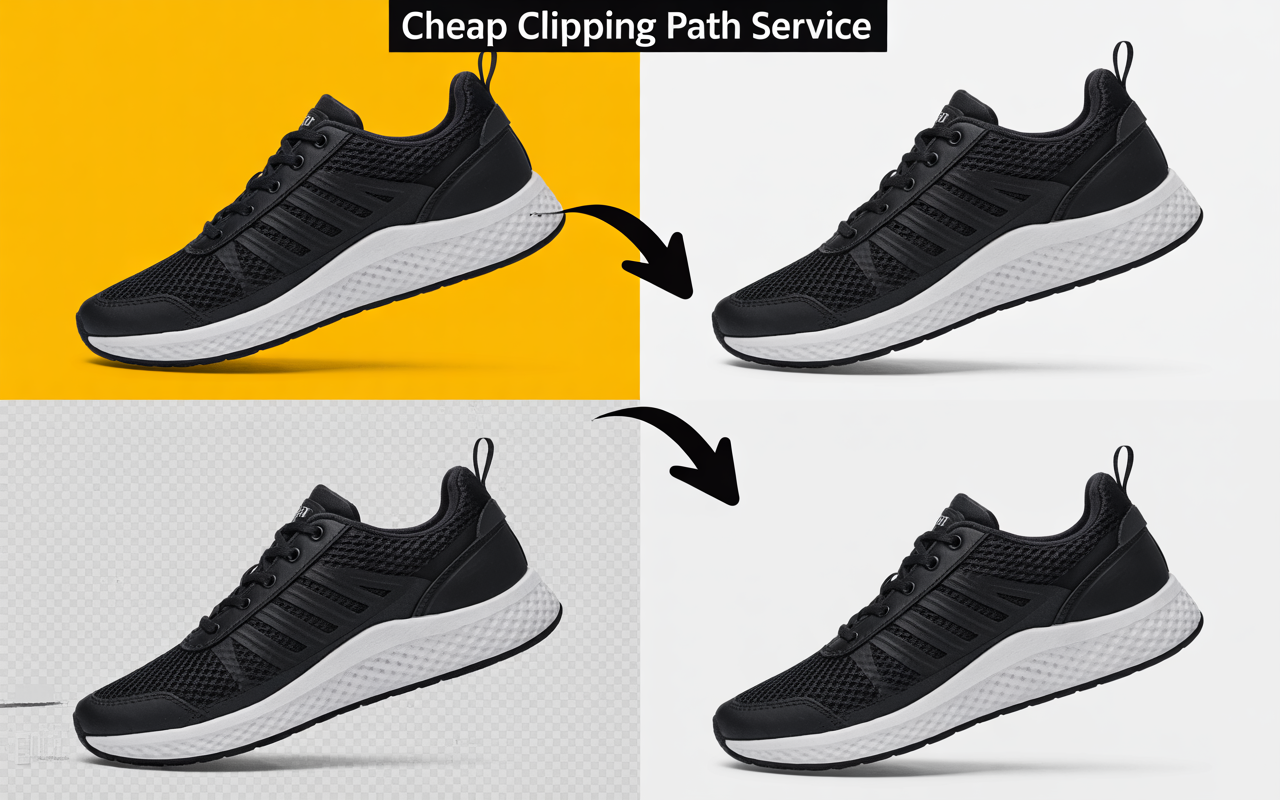
This type uses the content of one layer to control the visibility of another. Super helpful for adding textures or fitting images inside shapes. It’s often used alongside multiple clipping path techniques for advanced image composition.
When Should You Use a Mask?
Honestly, any time you think about deleting part of an image stop. Use a mask. Want to blend two images? Use a mask. Soft edges? Mask. It’s like seasoning in cooking—once you learn how to use it, you won’t stop.
Step-by-Step: Creating a Basic Layer Mask
Let’s walk through how to make one. It’s easier than you think.
Step 1: Open Your Image
Start with any image. Could be a product photo or your cat—Photoshop doesn’t judge. For eCommerce-ready edits, especially product shots, see our e-commerce photo editing services.
Step 2: Select the Layer You Want to Mask
Click the layer you want to work with in the Layers panel.
Step 3: Add a Layer Mask
Hit the little rectangle-with-a-circle icon at the bottom of the Layers panel. Boom your mask is on.
Step 4: Paint to Reveal or Hide Parts
Use a soft black brush to hide. Want to bring something back? Switch to white. Simple.
Step 5: Refine the Edges
Use a soft brush or go into ‘Select and Mask’ to clean up the transitions. Makes it look pro.
Creating a Clipping Mask: Super Simple Guide
-
- Place the layer you want to clip on top.
- Right-click > Create Clipping Mask.
- The bottom layer acts like a cookie cutter.
I once used this to make a photo look like it was inside handwritten text. Looked amazing on Instagram.
Using Vector Masks for Clean Lines
Using Vector Masks for Clean Lines
Select the layer > Add Vector Mask > Use the Pen Tool. It’s a bit trickier but gives razor-sharp edges. Vector masks are widely used in professional image masking services to isolate objects with clean outlines.
Tips for Working with Masks Like a Pro
Non-Destructive Editing is Your Friend
Never damage the original. That’s the golden rule. Masks let you tweak forever.
Black Conceals, White Reveals
Easy to remember. Think of black as the blackout curtain and white as the open window.
Use Shortcuts to Speed Up
Press B for Brush, X to swap black/white. Use [ ] to change brush size fast.
Troubleshooting: Mask Not Working?
Check these:
-
- Is the mask thumbnail selected?
- Are you painting black or white?
- Is opacity at 100%?
Happens to all of us. A few clicks usually fix it.
Creative Uses of Masks in Real Projects
I used masks to fade a background behind a model, letting her pop. Another time, I blended two skies into one epic sunset. Masks made it seamless.
Common Mistakes Beginners Make
-
- Using the eraser instead of a mask.
- Forgetting to select the mask thumbnail.
- Painting gray and expecting magic.
We’ve all done it. Learn and move on.
Conclusion: Why Masks Are Totally Worth It
Once you get the hang of masks, they feel like Photoshop superpowers. Want more pro tips? Check out our Photoshop tutorials and guides to level up your editing game. You can blend, hide, reveal, tweak, and perfect all without losing your original image. It’s the secret weapon for clean, creative, flexible edits. You’ll wonder how you ever lived without them.
FAQs
1. What’s the difference between a layer mask and a clipping mask?
A layer mask hides or shows parts of a single layer. A clipping mask uses one layer to control the visibility of another.
2. Can I undo mask changes later?
Yes! That’s the beauty of it. You can paint over a mask anytime. No harm done.
3. Are masks available in all Photoshop versions?
Pretty much. As long as you’re using a recent version (CS6 and up), you’re good.
4. Do masks affect image quality?
Nope. They’re non-destructive. Your original pixels stay untouched.
5. How do I know if my mask is active?
Look for the white border around the mask thumbnail in the Layers panel. That’s your green light to paint.