
You know that moment when you open a jewelry box, and the piece inside catches the light just right? It sparkles, it shines, and for a second, you’re mesmerized. That’s the magic we’re chasing when we photograph jewelry. And guess what? You don’t need a fancy studio to make it happen. Let me walk you through it just like I would a close friend.

Why Good Jewelry Photos Matter
First Impressions Are Everything
When someone scrolls through your product page, the photo does all the talking. A good photo grabs attention. A great one sells the piece.
Snippet-ready answer: Clear, sharp jewelry photos help build trust and boost sales instantly.
The Power of Visual Persuasion
Photos tell a story. Is your jewelry elegant? Edgy? Earthy? Your photo sets the tone before anyone reads a single word.
Snippet-ready answer: Jewelry photos convey mood, quality, and style in seconds without saying a word.
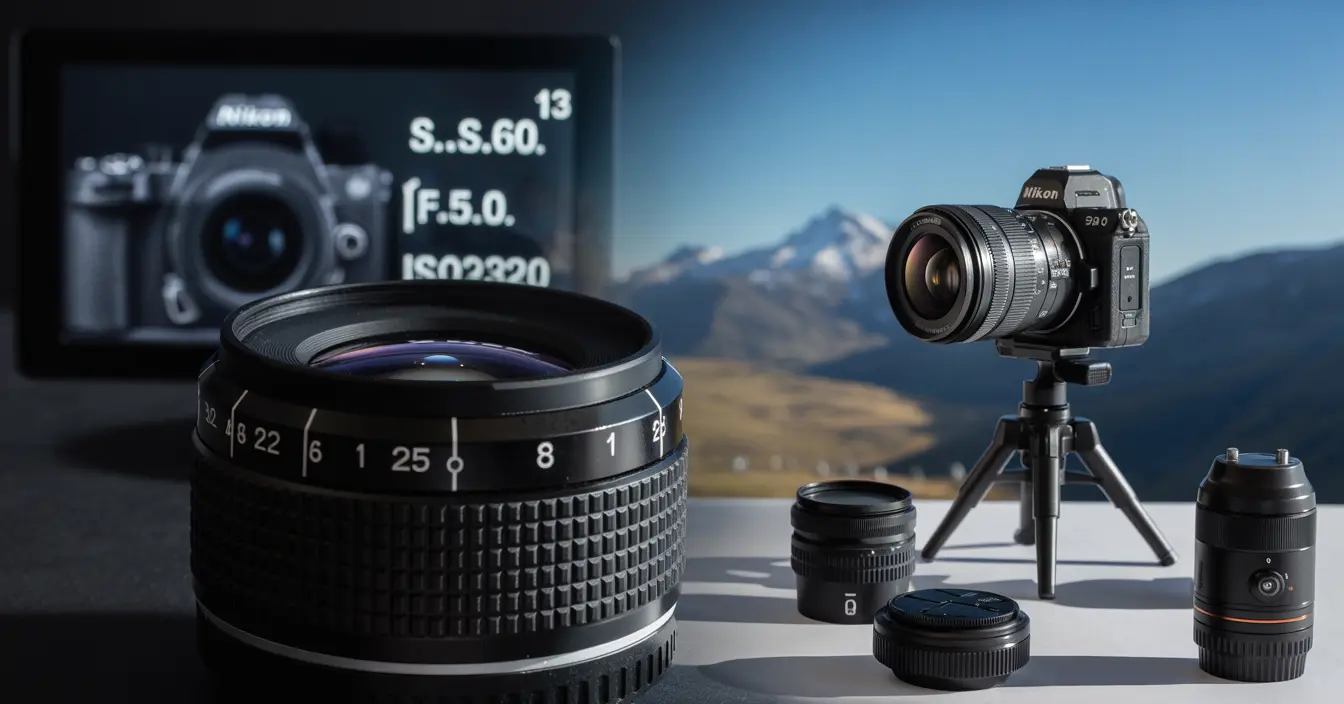
Gear You’ll Need (Don’t Worry, It’s Simple)
Camera vs Smartphone What’s Best?
Honestly, your phone can do wonders. New smartphones have amazing cameras. Just make sure to shoot in high resolution.
Snippet-ready answer: Modern smartphones work great for jewelry photography if you use proper lighting and stabilization.
Tripod Your New Best Friend
Even the steadiest hands shake a bit. A tripod keeps your shot crisp. It’s a small investment that changes everything.
Snippet-ready answer: Use a tripod to avoid blur and keep focus sharp.
Light box The Secret Sauce
I resisted this for so long, but wow—it changed my game. A light box gives you even lighting and a clean background. No harsh shadows. Just sparkle.
Snippet-ready answer: Light boxes offer consistent lighting and eliminate harsh shadows for professional results.
Let’s Talk About Lighting
Natural Light vs Artificial Light
If you’re near a big window with soft daylight—use it! But cloudy days or late evenings? A daylight lamp works wonders.
Snippet-ready answer: Soft natural light or daylight bulbs help showcase jewelry without harsh shadows.
Using Reflectors to Eliminate Shadows
A simple white card can bounce light back onto your piece, softening shadows and making details pop.
Snippet-ready answer: Reflectors bounce light back onto jewelry to reduce shadows and enhance detail.
Setting the Scene Background and Props
Keeping It Clean and Minimal
The jewelry should be the star. Use white, black, or neutral backgrounds. Avoid busy patterns.
Snippet-ready answer: Use simple backgrounds so the jewelry remains the focus of the photo.
Creative Touches Without Clutter
Sometimes I add a prop like a eucalyptus leaf or a velvet tray—for texture. Just don’t overdo it.
Snippet-ready answer: Add subtle props to enhance mood but keep the focus on the jewelry.
Mastering the Shot Angles and Composition
Focus on the Details
Zoom in on the clasp, the stone, or the engraving. That’s where your craftsmanship shines.
Snippet-ready answer: Highlight details to show craftsmanship and quality up close.
Try Multiple Angles
One shot isn’t enough. Show the front, back, and how it looks when worn. Give your viewer the full picture.
Snippet-ready answer: Use various angles to give a complete view of the jewelry piece.
Editing Like a Pro (Even If You’re Not)
Tools I Swear By
I love using Lightroom for quick edits. Snapseed’s great on mobile. Just adjust exposure, contrast, and white balance.
Snippet-ready answer: Use basic editing apps like Lightroom or Snapseed to enhance clarity and color.
Keep It Real – Avoid Over editing
It’s tempting to go wild, but keep it honest. People want to see what they’ll actually get.
Snippet-ready answer: Avoid over editing showcase jewelry as it truly looks.
Common Mistakes to Avoid
Dust, Blurs, and Bad Angles
Wipe your piece clean. Use a microfiber cloth. And don’t rush the shot—take your time.
Snippet-ready answer: Clean your jewelry and take steady, well-composed shots to avoid amateur mistakes.
Too Much or Too Little Light
Blown-out highlights or dark shadows ruin the look. Play around with positioning and dimmers if needed.
Snippet-ready answer: Balance lighting to avoid harsh highlights or murky shadows.
Bonus Tips from My Own Photo Fails
I once spent an hour shooting only to realize my ring had a fingerprint smudge. Or the time I cropped too tight and lost the chain. Mistakes teach you more than tutorials ever will.
Snippet-ready answer: Learn from every mistake each photo fail brings you closer to perfect shots.
Wrapping It Up – You’ve Got This!
Taking great jewelry photos isn’t about fancy gear or pro training. It’s about patience, light, and love for your work. Keep practicing, try new angles, and don’t be afraid to experiment. Trust me you’re way closer than you think.

FAQs
Q1: What’s the best time of day to take jewelry photos?
A: Morning or late afternoon when natural light is soft—no harsh shadows!
Q2: Can I use my phone to take professional jewelry shots?
A: Yes! Just use good lighting, a tripod, and high resolution settings.
Q3: What background works best for gold or silver jewelry?
A: White, black, or soft neutrals work great—they help the metal stand out.
Q4: How do I make gemstones sparkle in photos?
A: Use diffused lighting and adjust the angle to catch reflections.
Q5: Do I need to edit every jewelry photo?
A: A little editing helps, but don’t go overboard—keep it natural and true to life.