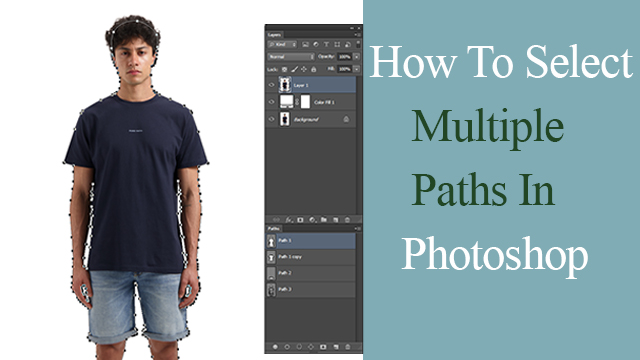

Ever had one of those moments in Photoshop where you’re juggling paths like you’re spinning plates at a circus? Yeah, I’ve been there too. Selecting multiple paths can feel like solving a puzzle blindfolded but once you get the hang of it, it’s as smooth as butter on toast.
Let’s break it down together. I’ll walk you through the tools, shortcuts, real-life examples, and those “aha!” moments I wish someone had told me earlier.
What Are Paths in Photoshop?
Paths are vector-based outlines used to create precise selections, shapes, or masks in Photoshop. Think of them as invisible wires shaping your edits. You can bend them, stretch them, and control every curve.
If you’ve ever used the Pen Tool, you’ve already worked with paths. They don’t have pixels just clean, smooth edges that scale like a dream.
Why Would You Need to Select Multiple Paths?
Selecting multiple paths lets you move, edit, or delete them all at once saving you tons of time. It’s especially handy in things like product photo editing, logo design, or when you’re batch-processing files.
Back when I first worked on an e-commerce project, I had to outline hundreds of items. Selecting paths one by one? Torture. Once I learned the trick to grabbing multiple paths, I cut my time in half.
Basic Tools You Need to Know
Before diving in, let’s make sure we’re on the same page with the tools.
The Path Selection Tool
The Path Selection Tool (black arrow) moves entire paths around. Hit A on your keyboard and you’ll see it pop up. Click any path, and you’re in control.
The Direct Selection Tool
The Direct Selection Tool (white arrow) lets you tweak individual points or segments. Also accessed with A, but hold Shift and click to toggle between the two.
The Layers Panel & Paths Panel
Photoshop’s Paths Panel is like your path control room. You’ll see all saved paths listed there, and yes — you can select more than one. We’ll get to that soon.
Selecting Multiple Paths: The Fast Way
Alright, here’s the real deal.
Method 1: Shift + Click with the Path Selection Tool
Hold Shift and click each path to select multiple at once. This works great if the paths are spread out and you want to pick specific ones.
Try this: Select the Path Selection Tool (A), then click one path. Now hold Shift and click another. Boom — both are selected. Simple but powerful.
Method 2: Drag a Selection Box
Click and drag over multiple paths to select them all in one swoop. It’s like using a lasso — any path inside the box gets selected.
This is my go-to when I’m dealing with clustered paths, like when outlining multiple parts of a product — the base, the shadow, the shine — all in one go.
Working with the Paths Panel
This is where the real magic happens.
Naming Your Paths Helps
Always name your paths in the Paths Panel. Trust me, “Path 1” and “Path 2” become a nightmare once you hit double digits.
Just double-click the path name to rename it. Something like “Product Base” or “Shadow Left” makes life easier when you’re selecting later.
Selecting Multiple Saved Paths
Hold Ctrl (Cmd on Mac) and click multiple path names in the Paths Panel. This selects all of them — ready to move, mask, or export.
Sometimes I prep files for clients where each part of an image needs a path. Selecting them all and exporting? A breeze when you do it right.
Common Mistakes and How to Avoid Them
Let’s avoid those rookie errors.
Accidentally Moving Anchor Points
Using the wrong tool (like Direct Selection) can shift anchor points. Always double-check you’re using the black arrow, not the white one, when selecting whole paths.
I once ruined an hour of pathwork because I nudged an anchor by accident. Lesson learned: double-check the tool.
Selecting a Layer Instead of a Path
Clicking a shape on the canvas might select the layer, not the path. Use the Paths Panel or Path Selection Tool for accuracy.
Keep an eye on your cursor if it turns into a tiny arrow with a square, you’re good.
Using Keyboard Shortcuts Like a Pro
Let’s speed things up.
Shift, Alt, and Ctrl/Cmd Tips
- Shift + Click: Add to selection.
- Ctrl/Cmd + Click: Select specific paths in the Paths Panel.
- Alt/Option + Drag: Duplicate a path while dragging.
Use these like muscle memory — they’ll make you faster than ever.
Quick Recap of Shortcut Combos
- A: Path tools (toggle between them with Shift).
- Shift + A: Switch between Direct and Path Selection Tool.
- Ctrl/Cmd + Click (Paths Panel): Select multiple saved paths.
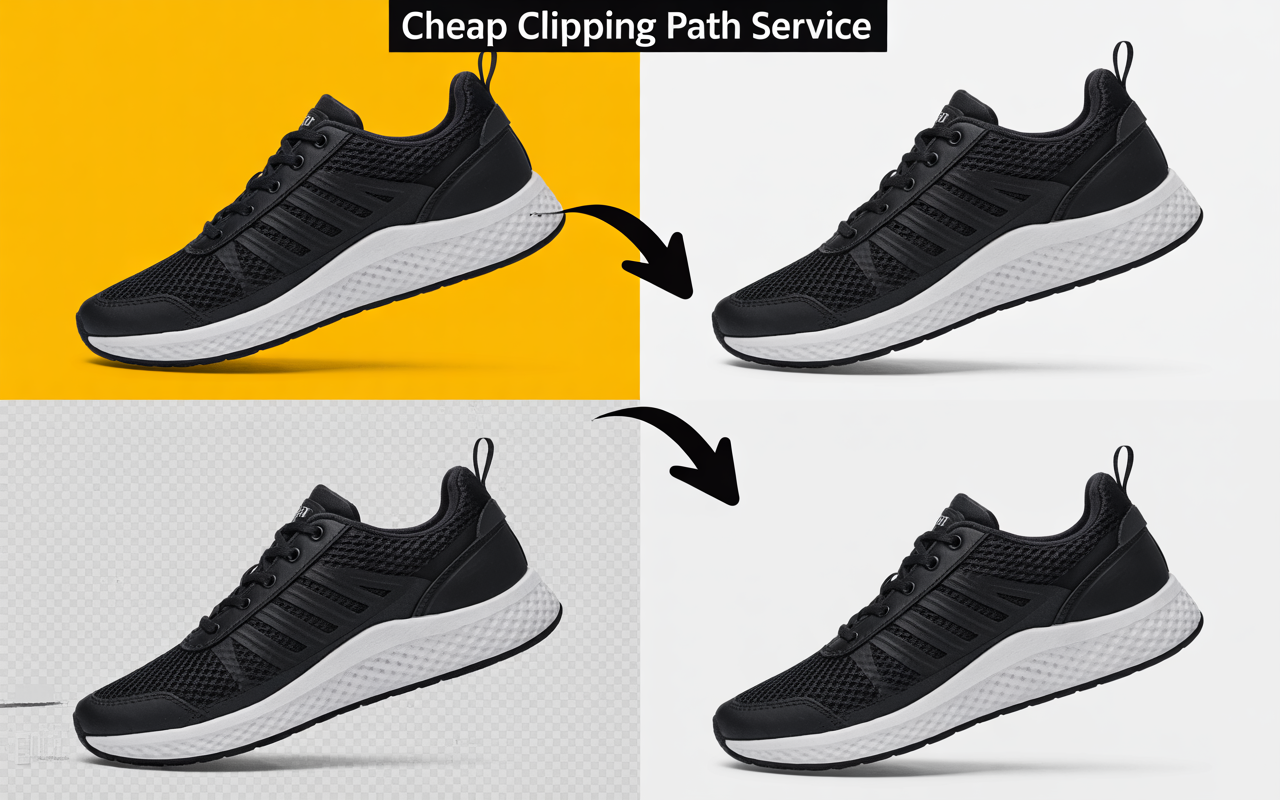
Related Article: What Is Clipping Path Service
Real-World Example: Editing a Product Image
Here’s a quick real-life story.
Selecting the Outline and Shadow Separately
When working on product cutouts, I often create two paths one for the product, one for the shadow. Selecting both lets me mask them or move them together.
Try this when editing shoes or bags. You’ll see how much cleaner your edits become.
Combining Paths for Batch Edits
Selected multiple paths? Group them, align them, or export them together. It’s like turning chaos into calm. A godsend during peak season edits.
Bonus Tip: Combining Multiple Paths
Want to merge paths?
Using the Combine Feature
Go to the Paths Panel > Select multiple paths > Right-click > Combine. Now they act like one — great for creating a full silhouette or outline.
Exporting Combined Paths
File > Export > Paths to Illustrator and boom! You’ve got a clean vector file for print or digital use.
Final Thoughts
So, there you go no more guessing games or hunting for paths like you’re on a treasure map. Selecting multiple paths in Photoshop doesn’t have to be complicated. With the right tools, a few shortcuts, and a little patience, you can fly through your edits like a pro.
Honestly, once you get the feel for it, you’ll wonder how you ever worked any other way. Like riding a bike, except instead of handlebars, you’re holding down Shift and dragging vectors.
Got stuck somewhere? Trust me, we’ve all been there. Just breathe, zoom in, and try again.
FAQs
1. Can I select multiple paths on different layers?
Yes, but only if those paths are visible and editable. Use the Path Selection Tool and hold Shift while clicking.
2. What’s the difference between Path Selection and Direct Selection?
Path Selection moves whole paths. Direct Selection edits individual anchor points. Use Path Selection when selecting multiple paths.
3. How do I avoid moving anchor points by accident?
Stick to the black arrow (Path Selection Tool) and lock layers when you don’t want them to move.
4. Can I save multiple paths in one file?
Absolutely! Just name each path in the Paths Panel. Photoshop saves them with the PSD file.
5. Is there a limit to how many paths I can select?
Not really, but too many can slow things down. Keep your file organized with labels for smooth editing.